

This low sodium chili recipe is packed with lean ground beef, colorful vegetables, and hearty beans, all simmered without excess salt. The entire pot costs $17.52, or $2.92 per serving, and it is ready in about 1 hour and 35 minutes.
Making chili from scratch lets you control the sodium. A blend of spices, a touch of brown sugar, and a splash of lime juice build the flavor instead of added salt. If you are planning a soup-and-chili rotation, whole chicken noodle soup offers a change from beef and beans; review its ingredients separately for your sodium needs.
What this costs
These are estimated costs based on typical U.S. supermarket store-brand prices in September 2026. Prices vary by store and region, so treat them as a guide.
| Ingredient | Amount used | Pack size | Pack price | Recipe cost |
|---|---|---|---|---|
| Lean ground beef (93%) | 1 lb | 1 lb | $4.99 | $4.99 |
| Large onion | 1 | 3 lb bag (approx 3-4 onions) | $2.49 | $0.62 |
| Celery stalks | 3 | 1 bunch | $1.79 | $0.54 |
| Bell peppers (red, yellow, green) | 3 | 3-pack | $3.99 | $3.99 |
| Balsamic vinegar | 1.5 tablespoons | 16 fl oz bottle | $3.50 | $0.15 |
| Chili powder | 2 tablespoons | 6 oz jar | $2.29 | $0.18 |
| Brown sugar | 2 tablespoons | 2 lb bag | $1.89 | $0.04 |
| Cumin | 1 tablespoon | 2 oz jar | $1.89 | $0.09 |
| Cocoa powder | 1 tablespoon | 8 oz can | $2.89 | $0.08 |
| Oregano | 1 teaspoon | 0.75 oz jar | $1.49 | $0.04 |
| Smoked paprika | 1 teaspoon | 2 oz jar | $2.89 | $0.14 |
| No-salt-added diced tomatoes | 28 ounces | 28 oz can | $1.69 | $1.69 |
| No-salt-added tomato paste | 6 ounces | 6 oz can | $0.99 | $0.99 |
| No-salt-added kidney beans | 15 ounces | 15 oz can | $0.89 | $0.89 |
| No-salt-added black beans | 15 ounces | 15 oz can | $0.89 | $0.89 |
| Limes | 2 | 1 lime | $0.45 | $0.90 |
| Fresh cilantro | 1/4 cup | 1 bunch | $1.49 | $0.75 |
| No-salt-added beef or chicken broth | 1 cup | 32 oz carton | $1.99 | $0.50 |
| Olive oil | 1 tablespoon | 16.9 fl oz bottle | $5.50 | $0.05 |
| Total recipe cost | $17.52 | |||
| Cost per serving | 6 servings | $2.92 |
Ingredient cost = pack price ÷ pack quantity × amount used. Cost per serving = total recipe cost ÷ servings.
Ingredient Notes and Cheaper Swaps
Lean Ground Beef
Lean ground beef (93% lean) means less grease to drain. If a fattier ground beef (like 80/20) is on sale, use it and drain off the excess fat after browning. To save more, reduce the beef by half and add an extra can of beans or lentils.
Bell Peppers
Green bell peppers are typically the least expensive, so you can use all green peppers or green plus one other color. Frozen chopped bell peppers are often cheaper and require no chopping.
No-Salt-Added Products
Use no-salt-added (NSA) diced tomatoes, tomato paste, and beans to keep the sodium low. If you can’t find NSA versions, rinse regular canned beans thoroughly under cold water to remove some of the sodium. For tomatoes, look for the lowest sodium content available and adjust other seasonings accordingly.
Beans
The recipe uses kidney and black beans, but any no-salt-added beans work, such as pinto beans, cannellini beans, or chickpeas. Dried beans are significantly cheaper per serving than canned; soak them overnight and cook them according to package directions before adding them to the chili.
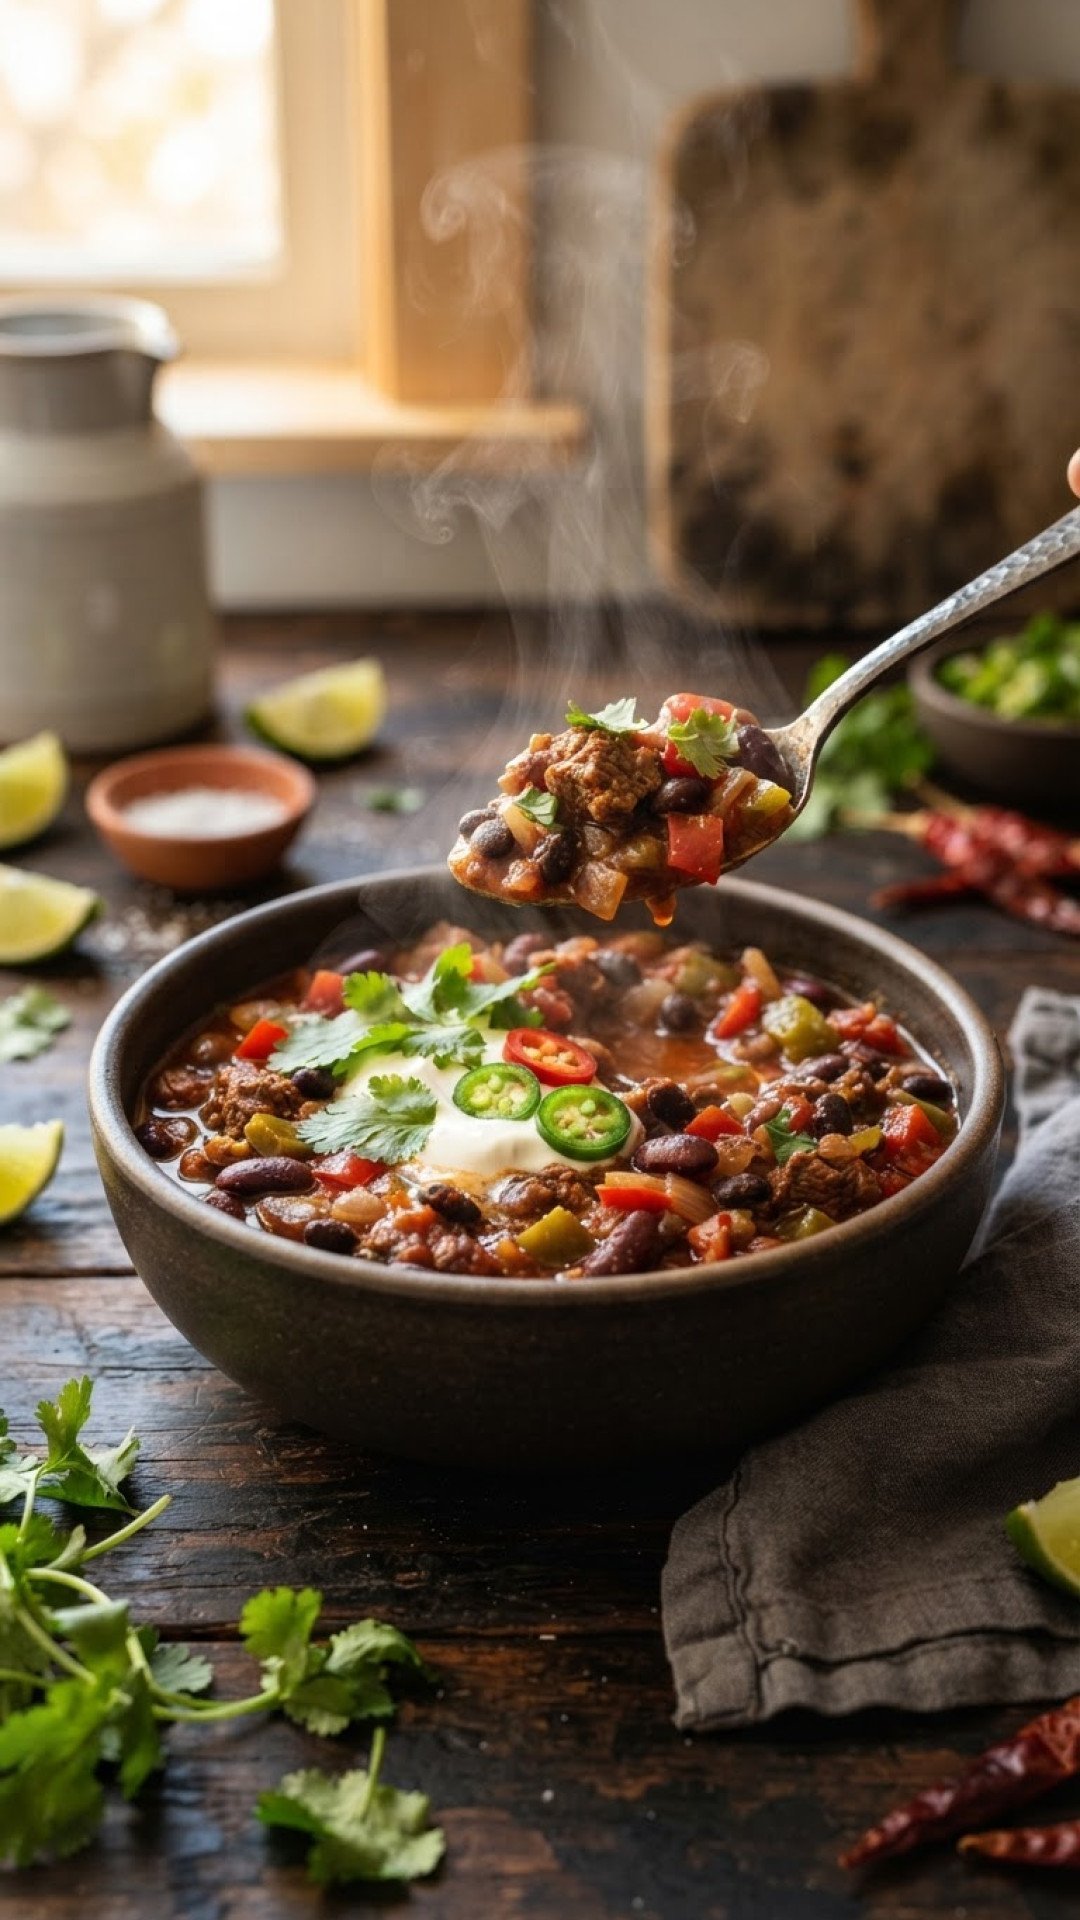
How to Make Low Sodium Chili Step by Step
Brown the lean ground beef in a large Dutch oven or pot over medium-high heat, breaking it up with a spoon until no pink remains. Use a slotted spoon to transfer the beef to a bowl, leaving behind any rendered fat. If the beef was very lean, add a tablespoon of olive oil to the pot.
Add the chopped onion and celery and sauté for about 7 to 8 minutes, stirring occasionally, until soft and translucent. Stir in the chopped bell peppers and balsamic vinegar and cook for another 3 minutes, until the peppers slightly soften.
Stir in the chili powder, brown sugar, cumin, cocoa powder, oregano, and smoked paprika and cook for about 1 minute, until fragrant. Add the no-salt-added tomato paste and diced tomatoes with their juices and stir to combine.
Return the beef to the pot along with the no-salt-added kidney and black beans. Bring to a gentle simmer, then reduce the heat to low, cover, and cook for at least 1 hour, until the vegetables are tender and the chili thickens.
Stir in the fresh lime juice and chopped cilantro, if using, and serve hot. For full quantities and detailed steps, refer to the recipe card below.
Tips for the Best Results
- Don’t Skimp on Simmer Time: Letting the chili simmer longer (up to 2-3 hours on low) deepens the flavors further.
- Adjust Spice Level: For heat, add a pinch of cayenne pepper or a diced jalapeño (without seeds for less heat) with the other spices.
- Taste and Adjust: If it tastes flat, a tiny pinch of salt (if your diet allows), a bit more lime juice, or an extra dash of chili powder can make a difference.
- Use a Heavy-Bottomed Pot: A Dutch oven or heavy-bottomed pot distributes heat more evenly and keeps the chili from sticking and burning during the long simmer.
Storing, Freezing, and Reheating
Cool the chili completely, then store it in airtight containers in the refrigerator for 3 to 4 days, or freeze it in individual portions for up to 3 months.
Thaw frozen chili in the refrigerator overnight or with the defrost setting on your microwave. Reheat gently on the stovetop over medium-low heat, stirring occasionally, or microwave individual portions. If the chili is too thick, add a splash of water or no-salt-added broth. For freezing and reheating, you can use Basics Glass Food Storage containers.
Serving Ideas and Variations
- Classic Toppings: Top with sour cream or plain Greek yogurt, sliced fresh jalapeños, and extra chopped cilantro.
- Over Rice or Quinoa: Serve over brown rice or quinoa for a more filling meal.
- Chili Baked Potatoes: Spoon the chili over baked potatoes or sweet potatoes. For a crisp potato side instead, serve it with air fryer fried potatoes, adjusting their seasoning to suit your meal.
- With Cornbread: Cornbread is a classic pairing for soaking up the chili. If bread alongside a warm bowl is your favorite part, try French onion soup without wine for a different meal, checking its broth and cheese against your sodium needs.
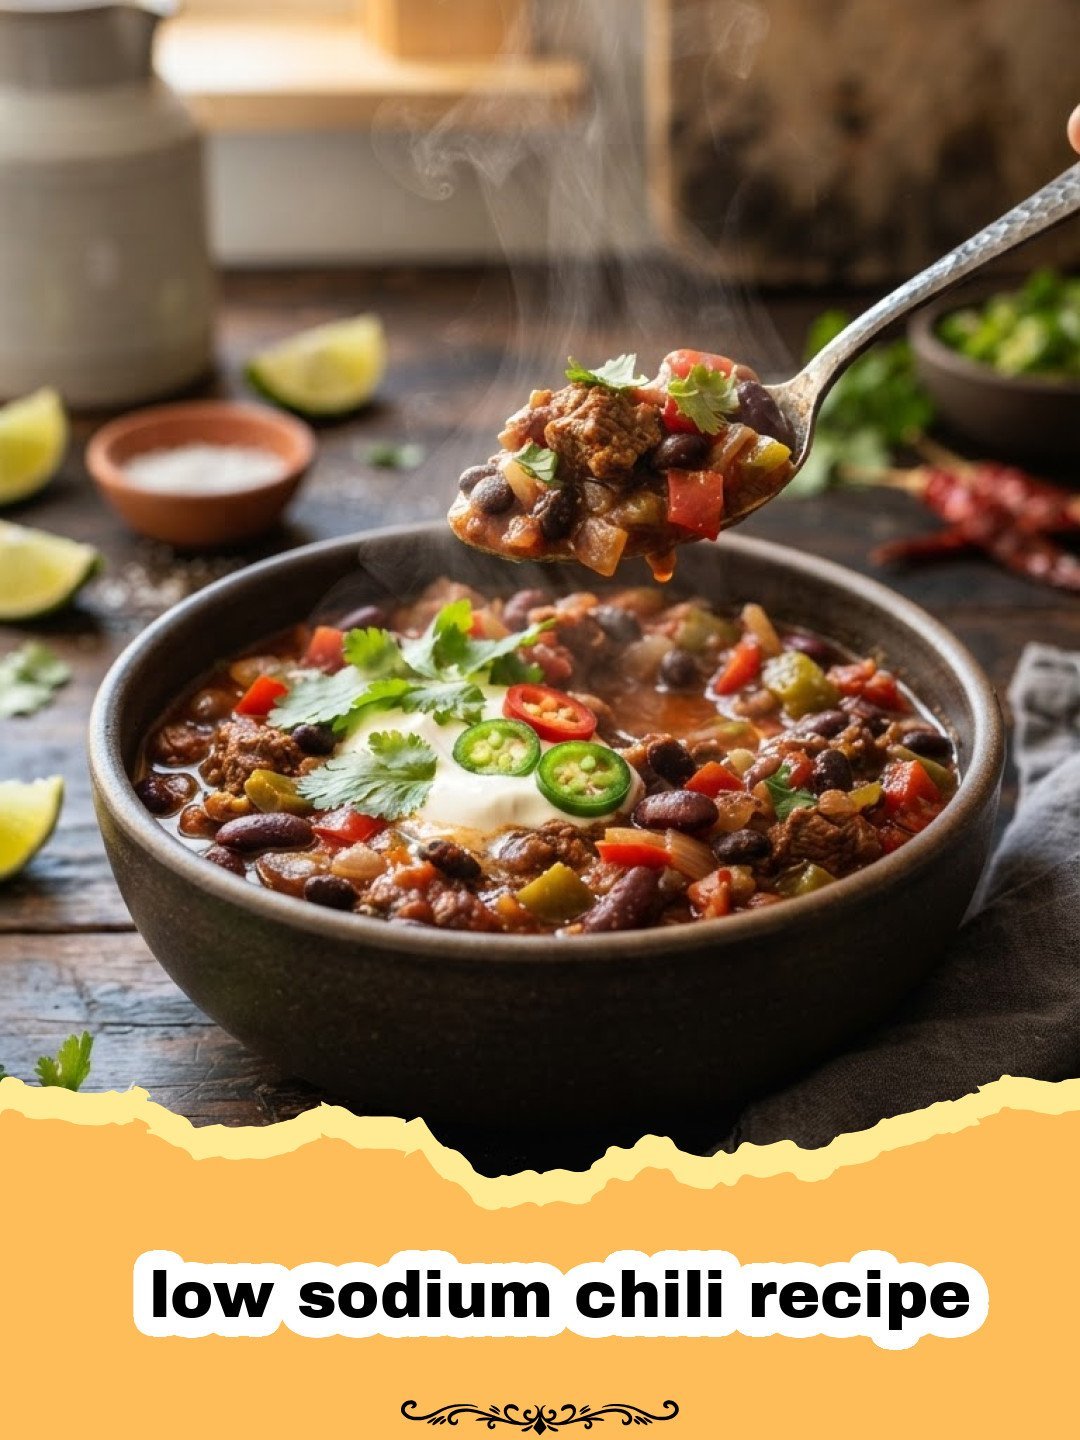
Low Sodium Chili
Ingredients
Equipment
Method
- Heat olive oil in a large Dutch oven or pot over medium-high heat. Add the ground beef and break it into smaller pieces with a wooden spoon.
- Brown the beef for 8 to 10 minutes until no pink remains and it’s fully cooked. With a slotted spoon, remove the cooked meat to a separate bowl and set aside, leaving any rendered fat in the pot.
- Add the chopped onion and celery to the pot. Sauté for 7 to 8 minutes until soft and translucent.
- Stir in the balsamic vinegar and chopped bell peppers. Sauté for 3 more minutes until the peppers begin to soften slightly.
- Add the chili powder, brown sugar, cumin, cocoa powder, oregano, and smoked paprika to the pot. Stir well and cook for 1 minute until fragrant.
- Stir in the no-salt-added tomato paste and the diced tomatoes with their juices, mixing thoroughly.
- Return the cooked ground beef to the pot, along with the drained and rinsed kidney beans and black beans.
- Stir everything well to combine. Bring the chili to a simmer, then reduce the heat to low, cover, and let it cook for at least 1 hour, or until the vegetables are tender and flavors have melded.
- Once the chili has simmered, stir in the fresh lime juice and chopped cilantro (if using).
- Serve hot with your favorite low-sodium toppings, such as fresh jalapeños or extra cilantro.
Notes
Frequently Asked Questions
Can I make this chili vegetarian?
Yes, you can easily make this a vegetarian chili. Omit the ground beef and add an extra can or two of no-salt-added beans, such as pinto or cannellini beans, or use cooked brown lentils for a meatier texture. Ensure your broth is vegetable broth.
How can I make this chili spicier?
To add more heat, you can include a diced jalapeño or serrano pepper along with the bell peppers. For a dry spice kick, add 1/2 to 1 teaspoon of cayenne pepper or a pinch of red pepper flakes with the other dry spices.
Can I use dried beans instead of canned?
Absolutely! Dried beans are a great budget-friendly swap. Just remember to soak them overnight and cook them according to package directions until tender before adding them to the chili, as they will take longer to cook than canned beans.
What if my chili is too thick or too thin?
If your chili is too thick, add a bit more no-salt-added beef or vegetable broth, or even water, until it reaches your desired consistency. If it’s too thin, let it simmer uncovered for an additional 15-30 minutes to allow some of the liquid to evaporate and thicken.
Can I prepare this chili ahead of time?
Yes, chili is often even better the next day as the flavors have more time to meld. Prepare it completely, let it cool, and then refrigerate it in an airtight container. Reheat gently on the stovetop or in the microwave.



Leave a Reply